

I recently had a requirement to add a custom field to a marketing journey in the new Real-Time marketing editor.
Initially I wasn’t confident it could be done – I could see that a column could be added to the table but wasn’t sure it was possible to add it to the new editor form.
In Outbound Marketing, the form is much more recognisable as a normal form (albeit with the designer tab)
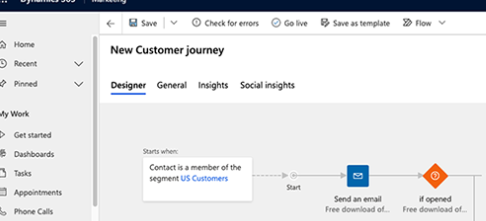
However in the new designer, it’s a very different look
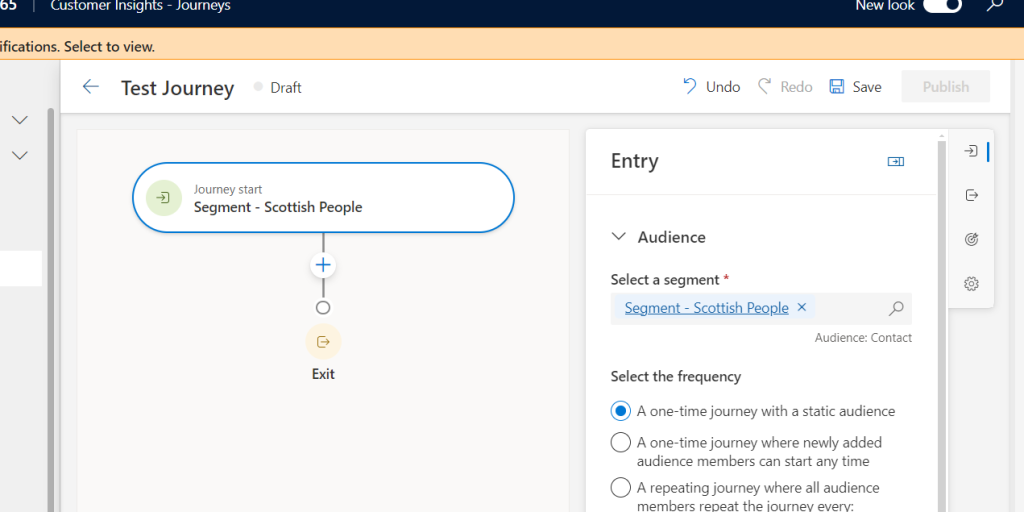
Adding a column to the new customer journey form
I was able to add the column to the form after a bit of playing around.
First – add the table to your solution, along with the Information (Main) form
The table is called ‘Journey’ to differentiate it from the old ‘Customer Journey’ table

Then open the Information form – however it opens with the wizard showing, and doesn’t look obvious that you can add anything to it
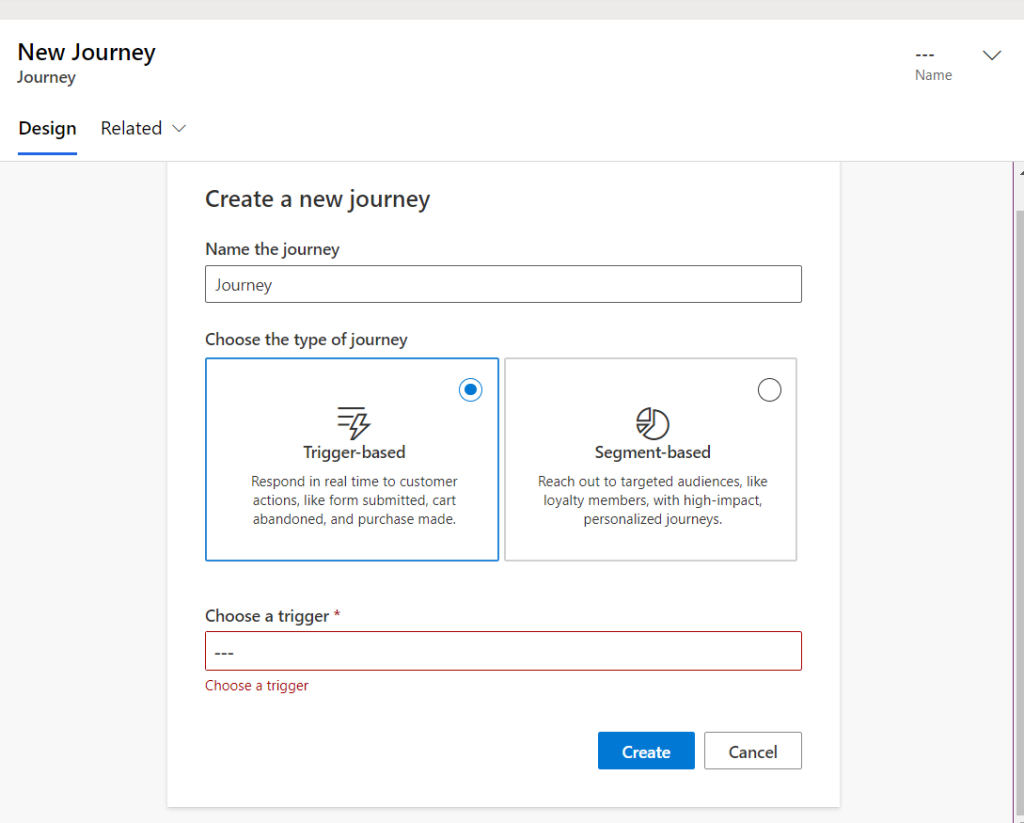
Click on the ‘Show Hidden’ option in the bottom corner, and the ‘Settings’ tab will now be visible.
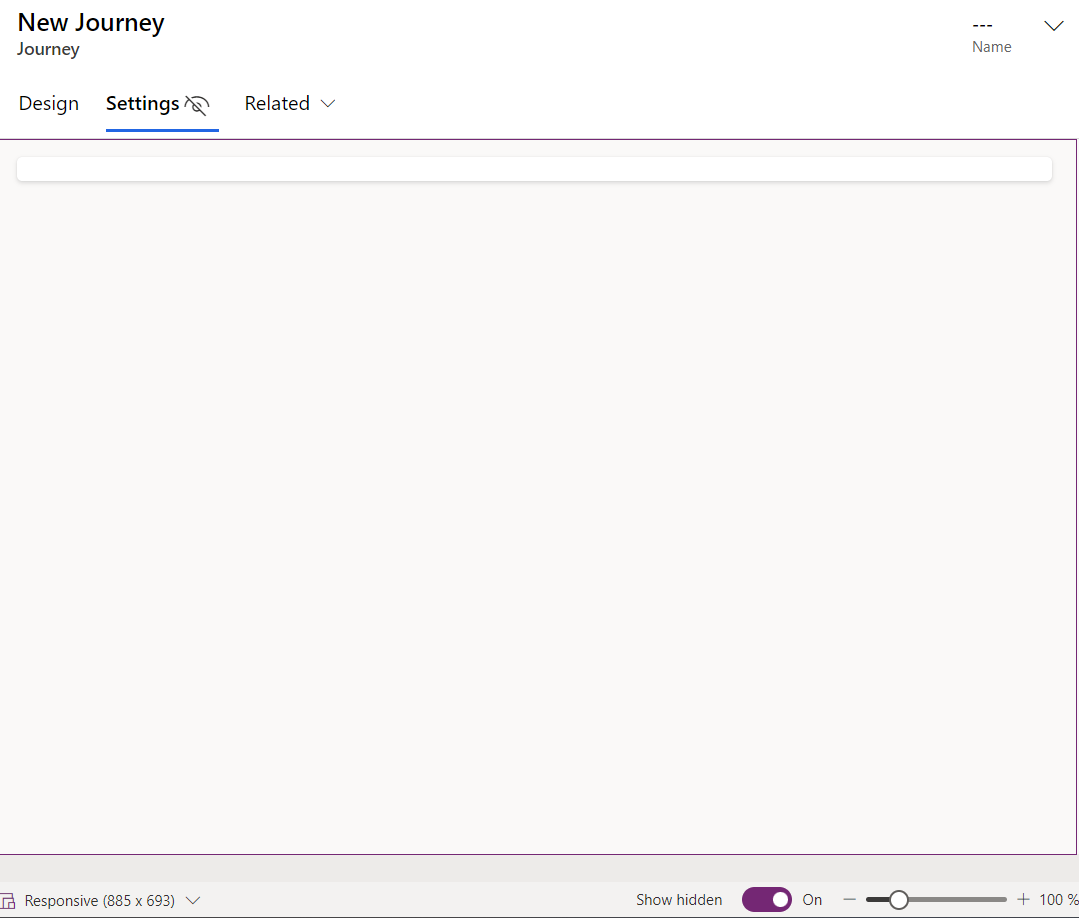
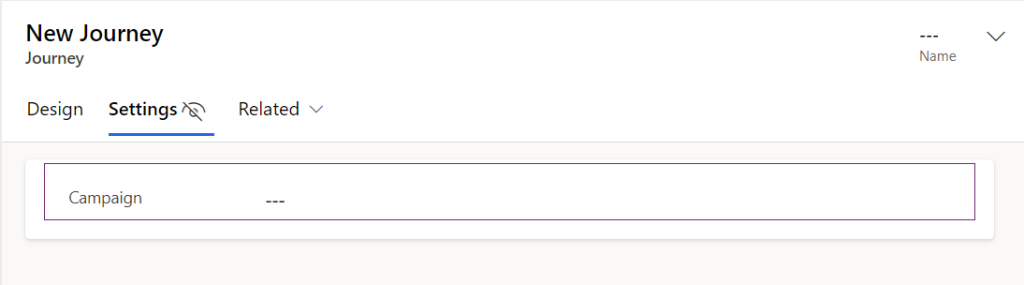
You can then add your column (for example a lookup to the Campaign for reporting purposes) to the Settings tab, and it’ll now be visible on the form
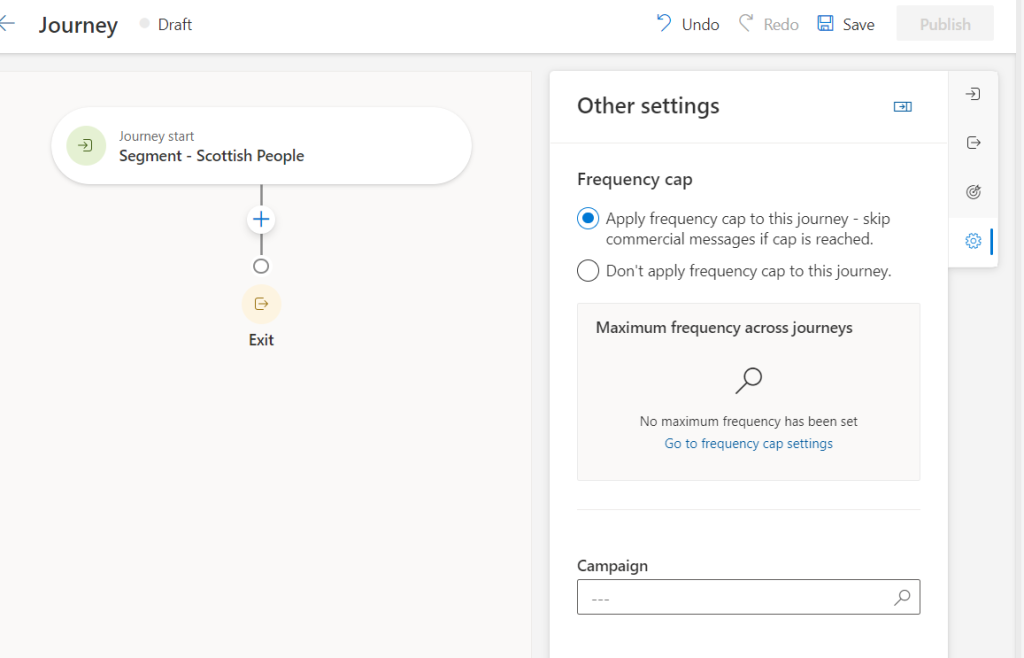
After saving and publishing the form, you can click on the ‘Settings’ cog on the Journey form and see the fields you’ve added at the bottom
And so we’ve navigated one of the many challenges we’ll face with Customer Insights – Journeys and the move to Real Time marketing!