


Ok, I admit it, I’ve been trying to keep this blog title in the bag for as long as possible, but this post is about the contact point consent, and ensuring you are complying with their wishes, so I thought it was appropriate (and couldn’t think of anything else to use)!
In Customer Insights – Journey the Communication tab is available in the out the box form on Leads and Contacts, allowing you to view and update the consent settings for a contact point.
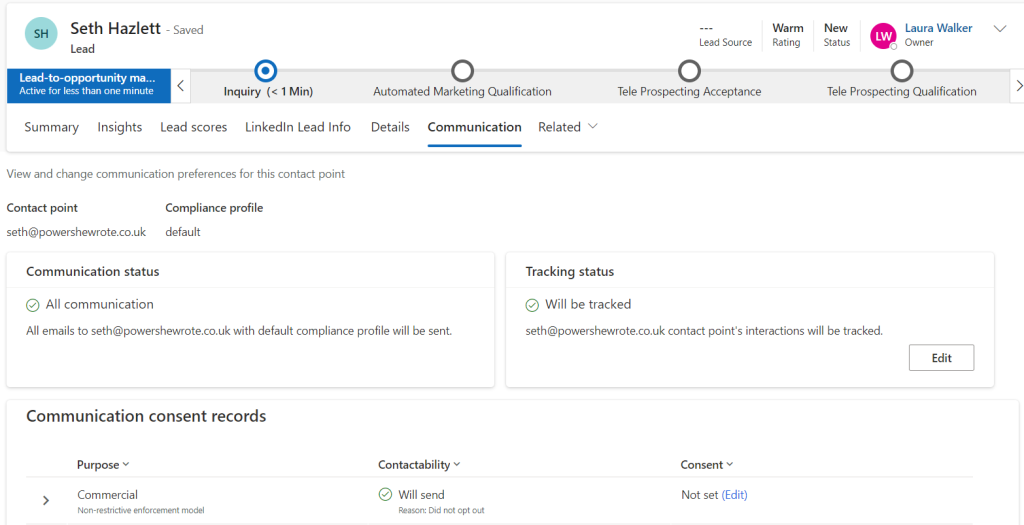
But what if you have an older, custom form that you use as Default, how do you see the communication preferences then?
Well, wonder no more! I’m about to show you how to add it.
Adding the communication preferences grid to your form
First off, you need to create a new tab in your form. I’m going to call it ‘Communication’ to match the system form.
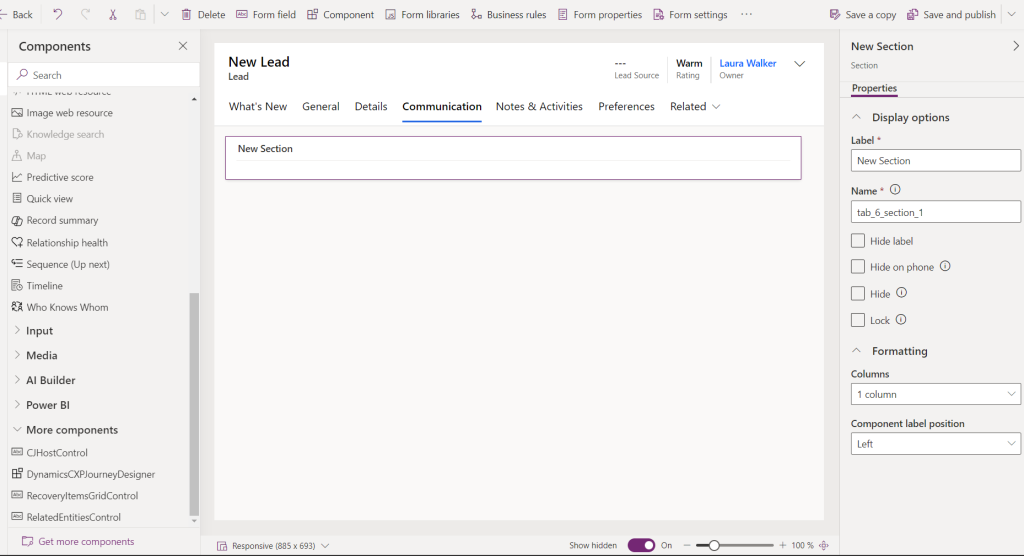
Click on the ‘Get more components’ down in the bottom left had corner.
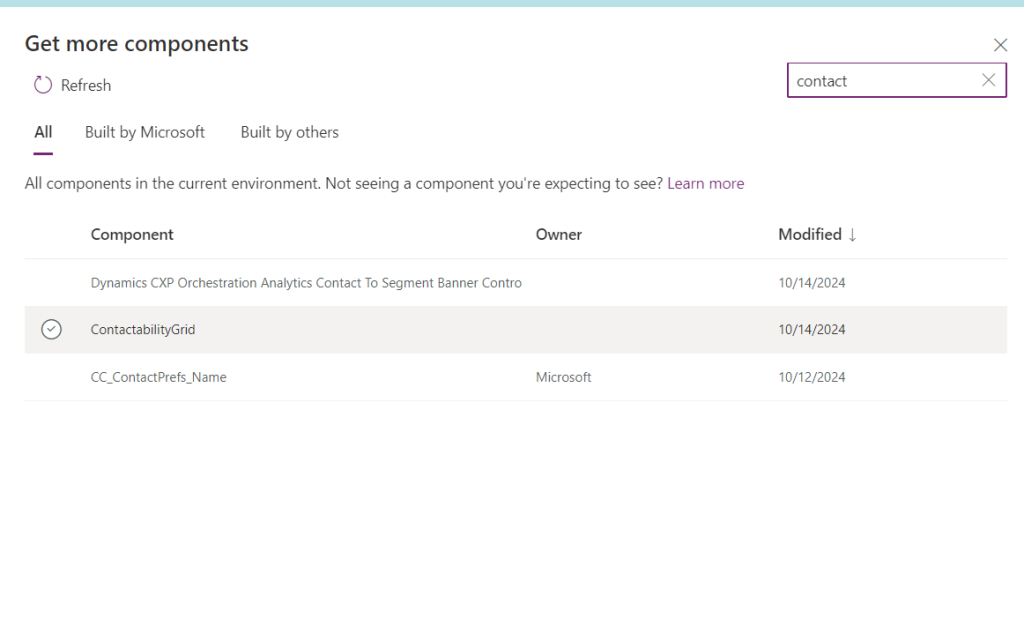
Search for ‘contact’ and select ContactibilityGrid and add it.
You can then click on the New Section and add the contactibility grid to the form.
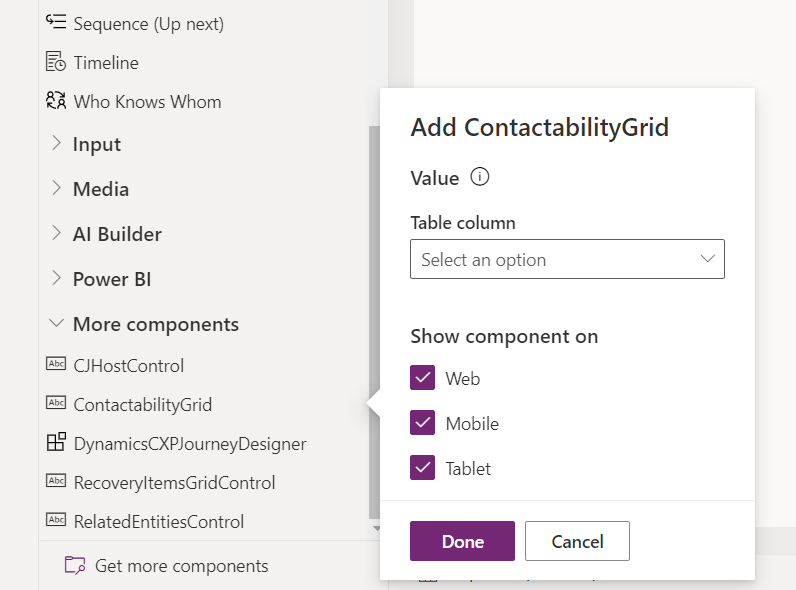
Just leave the ‘Table column’ blank and select ‘Done’. To match the out the box form, you can hide the section label.
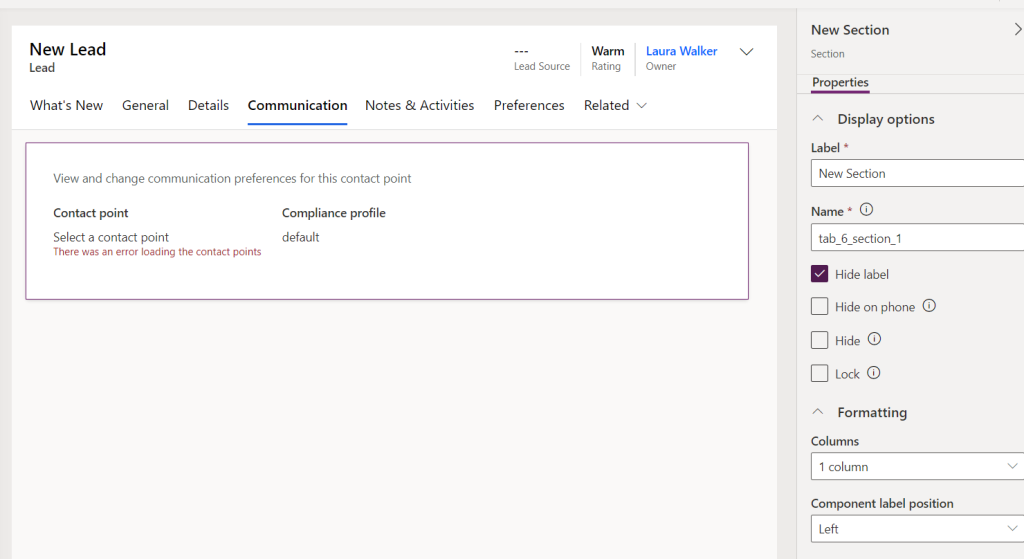
‘Save and Publish’ the form and you are good to go!