


So my current Customer Insights Journeys trial ends in a couple of days, so I figured I better get on with a post I had planned.
I posted a wee while back about how to add a column to the new Journey form, and assumed it would be a similar experience to add to the Segment or Email Editor form…but I was wrong!
It turns out each form uses a slightly different method of surfacing columns to the new forms, with Journeys definitely being the simplest.
Adding to the segment form
Adding to the Segment form doesn’t even involve the Segment table, what is shown as ‘Segment’ in the site map, actually shows the ‘Segment Definition’ table (msdynmkt_segmentdefinition).
Once you have added the table to your solution, you are interested in two forms – Information (Main) and Customizations (Main).
The Customizations form is where you add the column(s) to the form, however to be updated/used they also need to be added to the Information form.
Open the Customizations form and add the column.
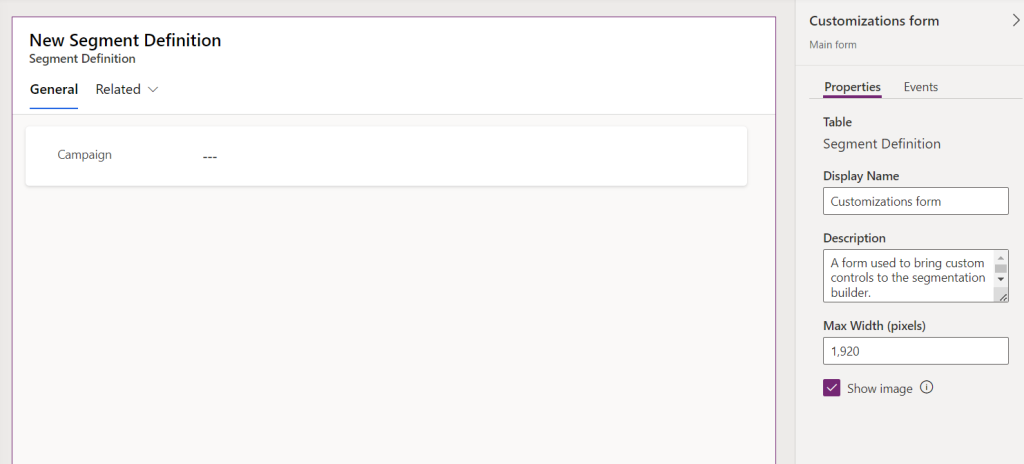
You can also add multiple tabs in this editor.
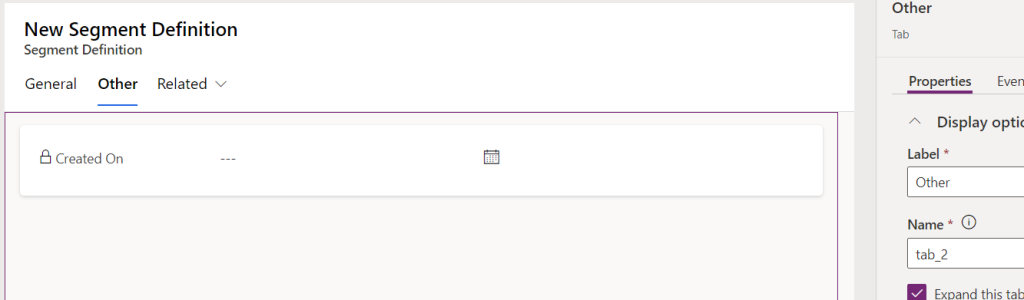
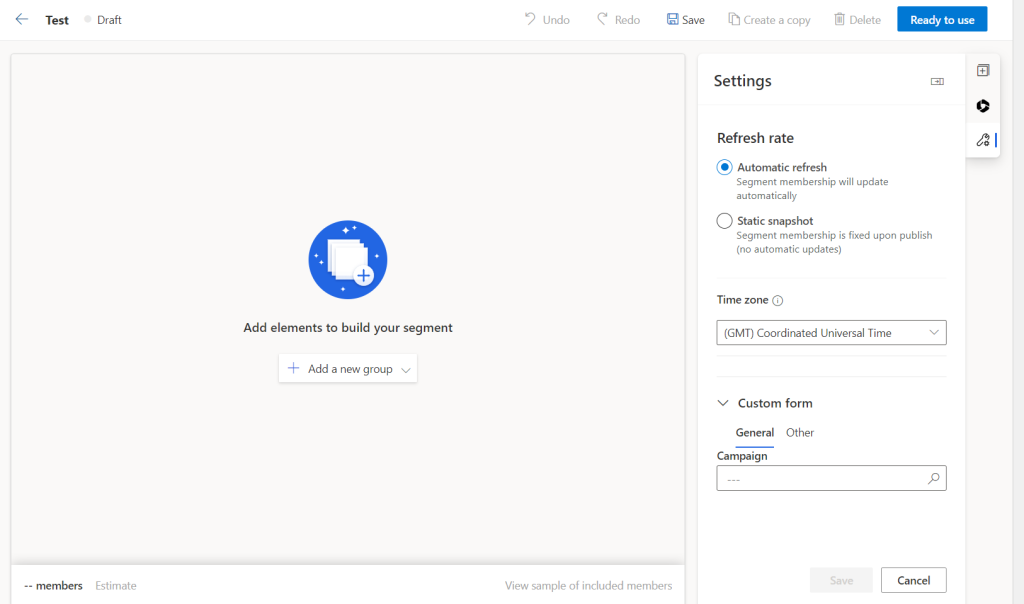
Open the Information form, and add the columns required (when you click the column(s) to add them to the form, you won’t actually see them, but you will see that they are no longer in the available columns). Once you’ve saved and published both forms, you’ll see the columns/tabs as below.
Adding to the email editor form
Adding to the Email form, which is the msdynmkt_email table, also involves two tables – the Information (Main) and the Email Header (Main) form. There are two Information forms, one which is customizable – that’s the one we are going to edit. Also it’s the Email Header and not the Email Header form (just to make things confusing!)
Open the Information form and switch to Classic mode.
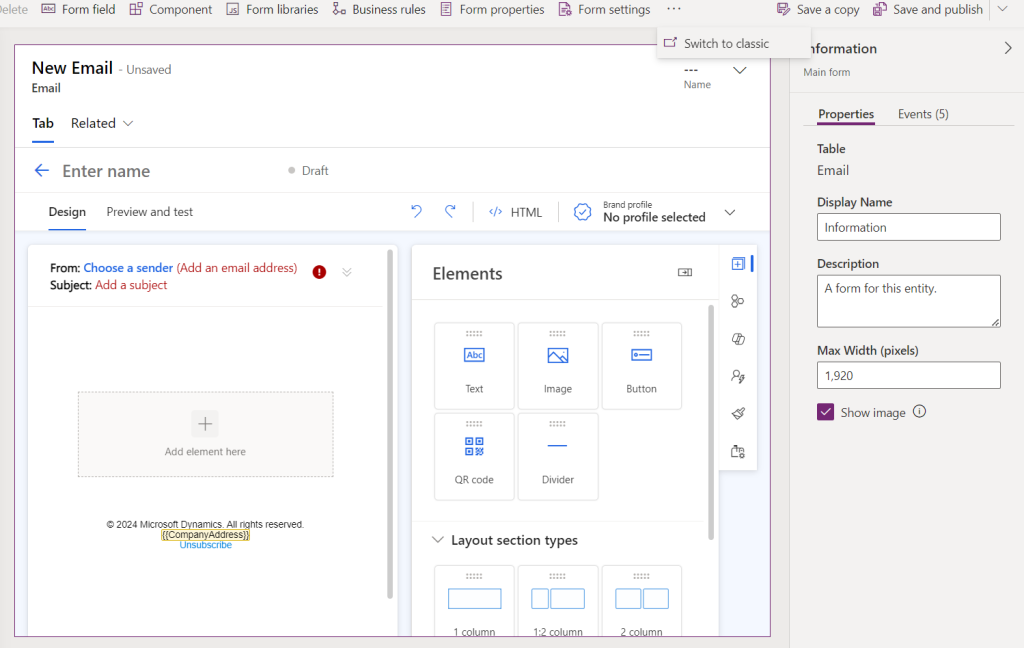
In the Classic editor, add the column(s) you want to add. In this case we are using Campaign again.
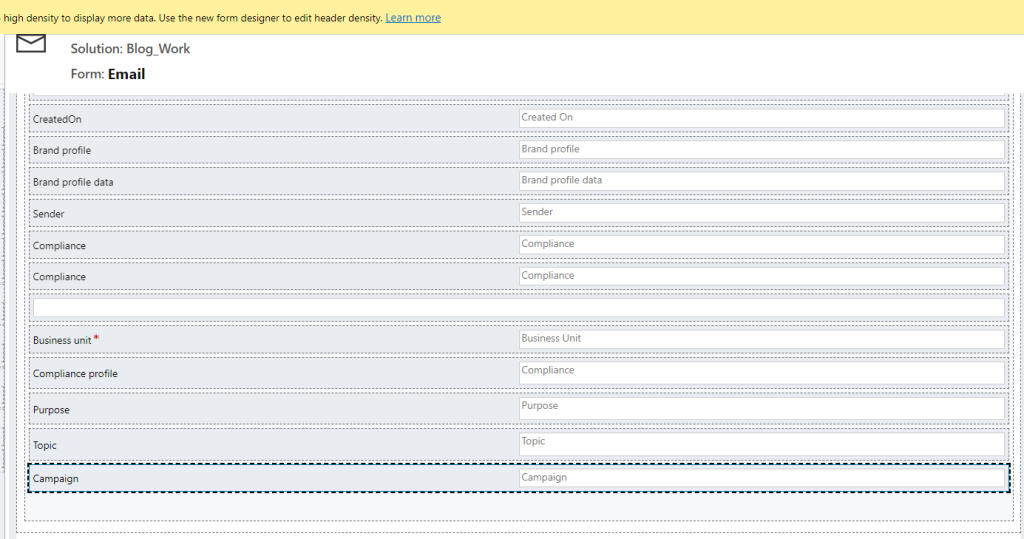
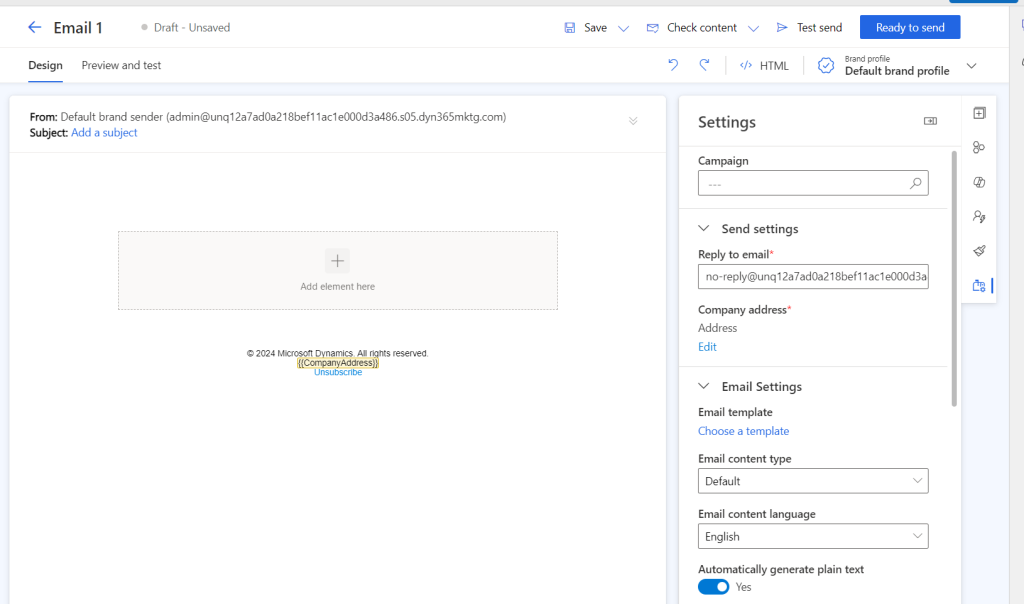
Save and Publish the changes. Then open the Email Header form and add the column(s). Again they won’t show, but you’ll see that they are no longer visible in the available list. Once you save and publish, you will now see your column in the Settings area.
Now, given the inconsistent experience between the 3 tables, things might change – and this might not be the only way to achieve the outcome above, but it’s one way I’ve been able to surface forms in each record!